Description
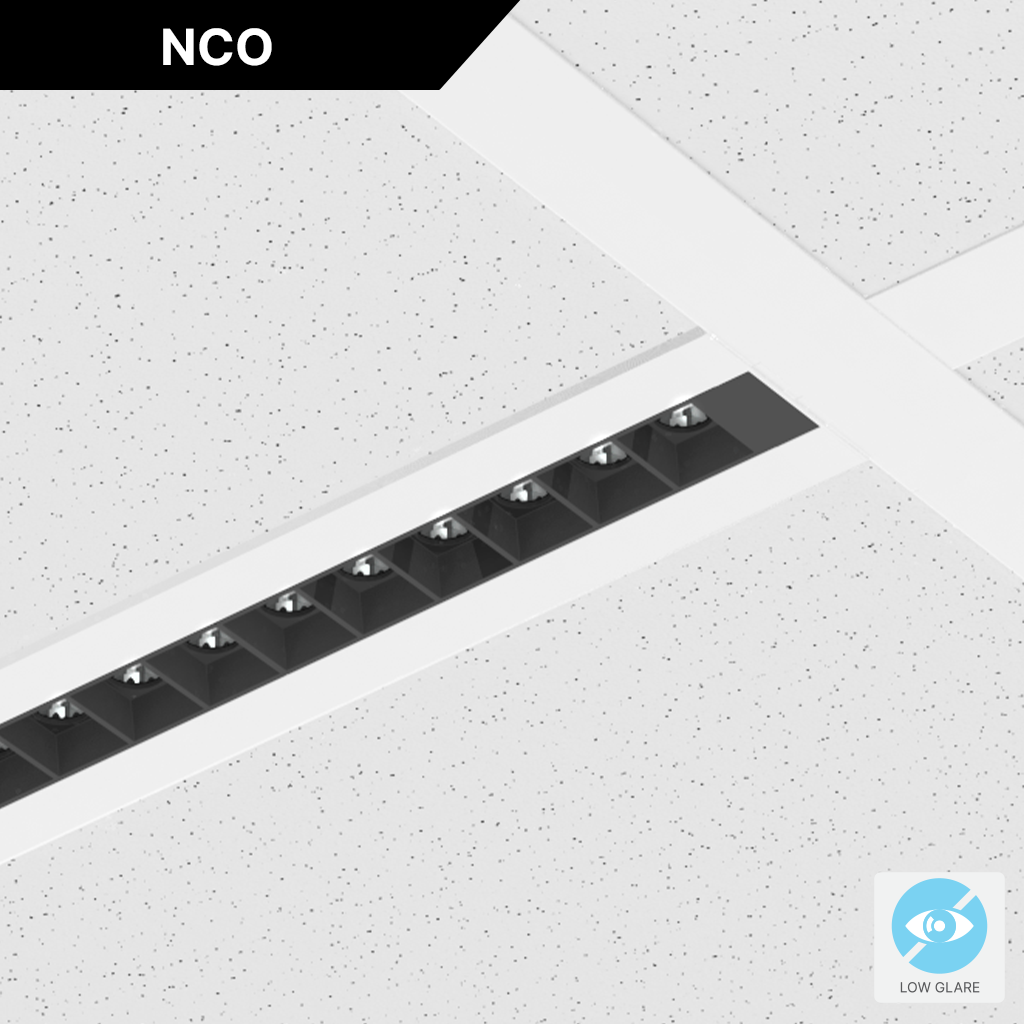
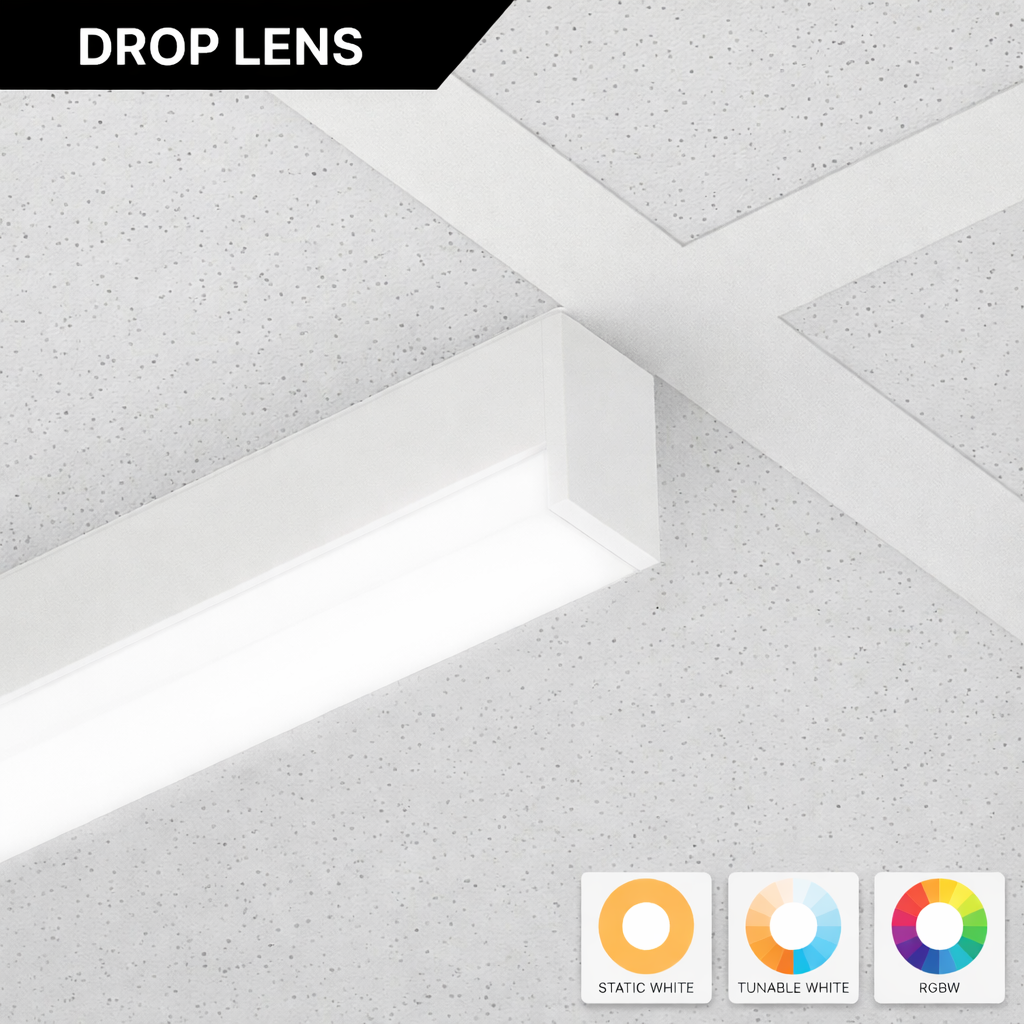
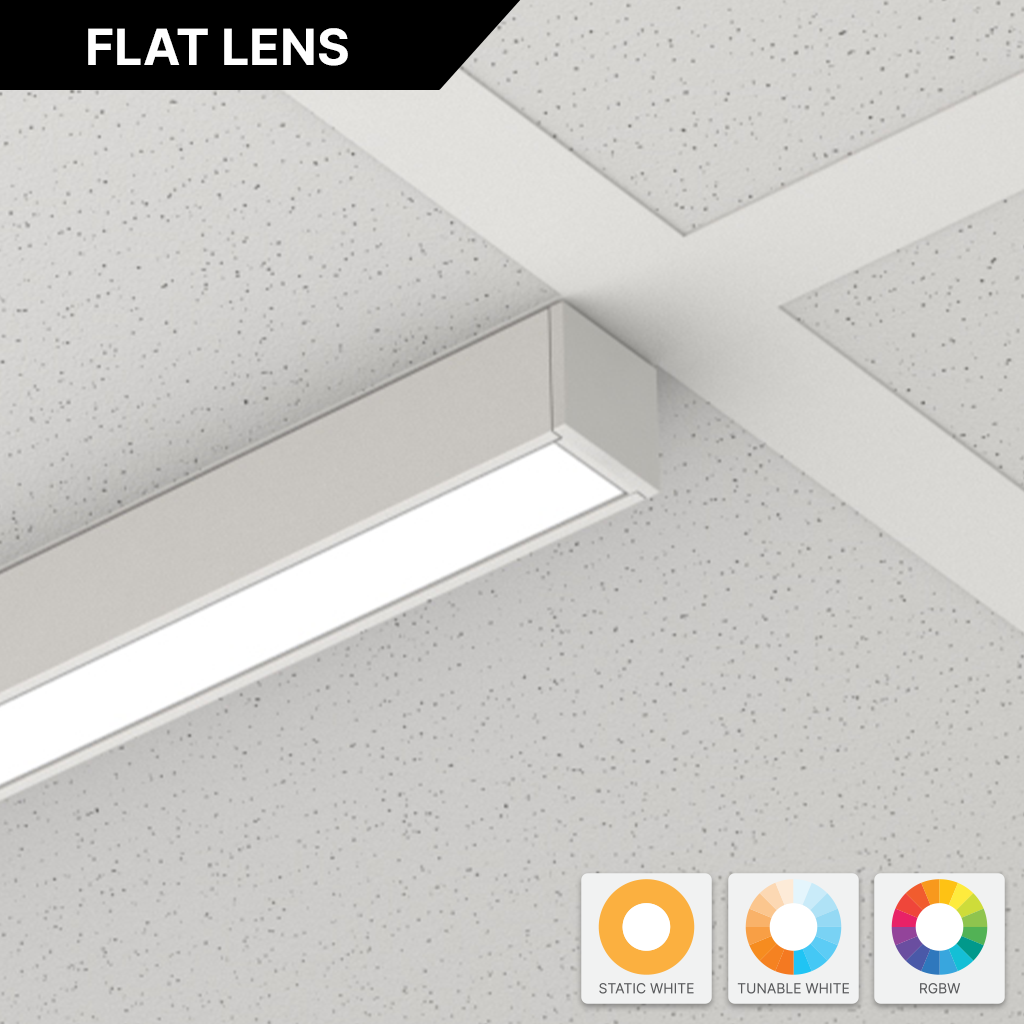
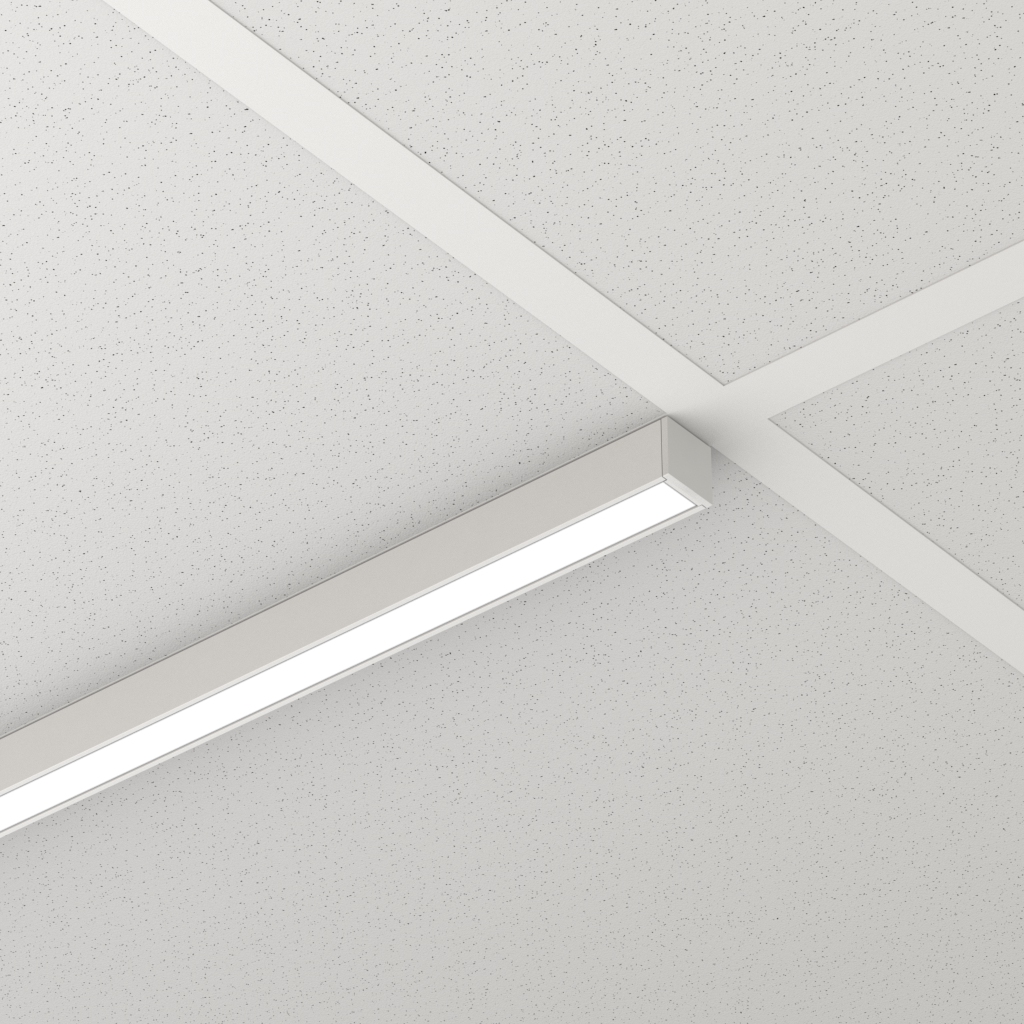
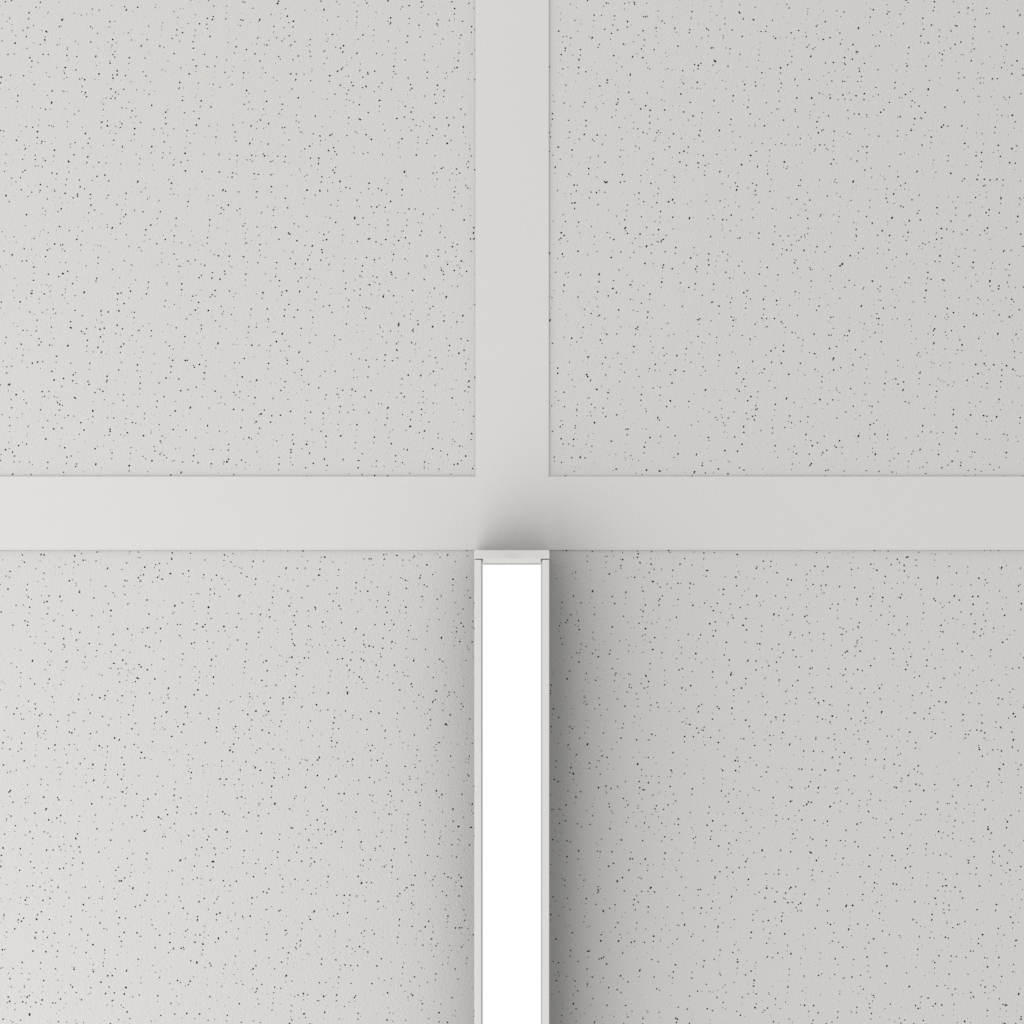
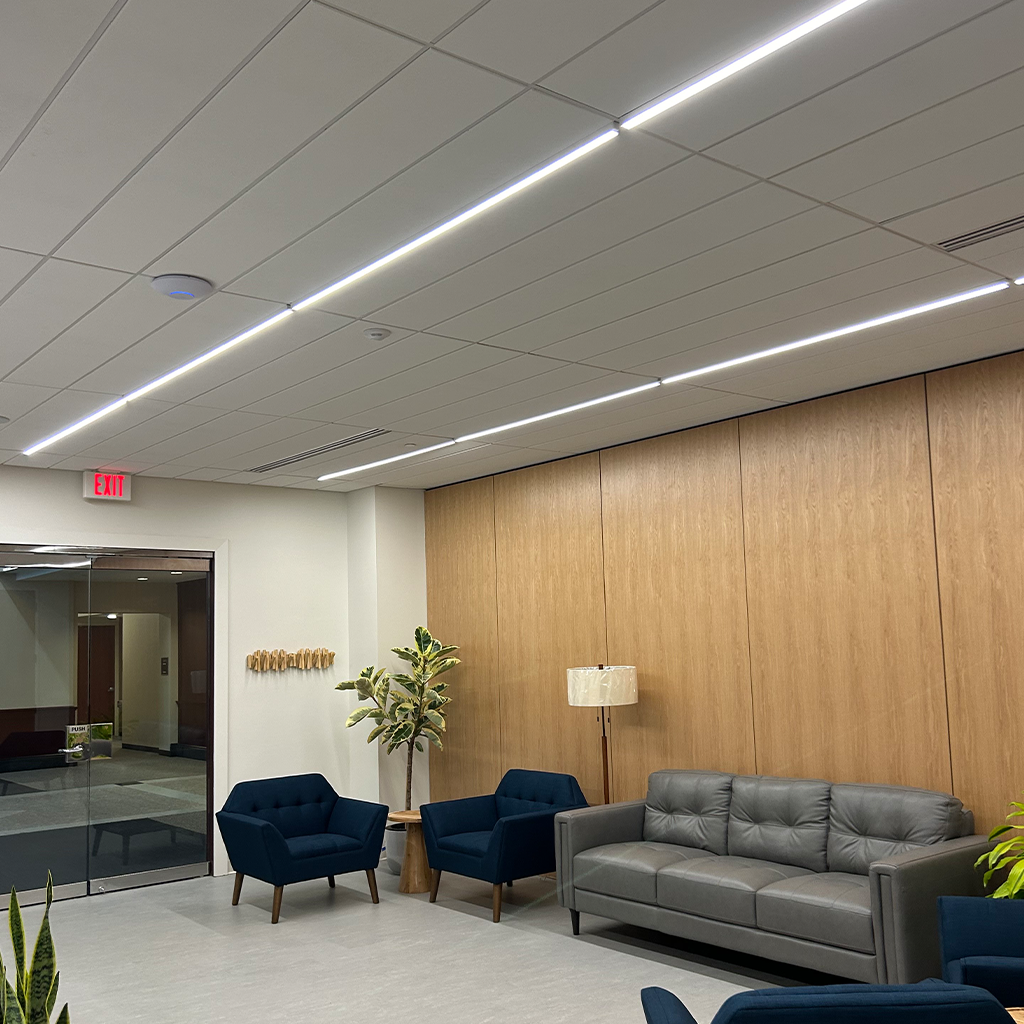
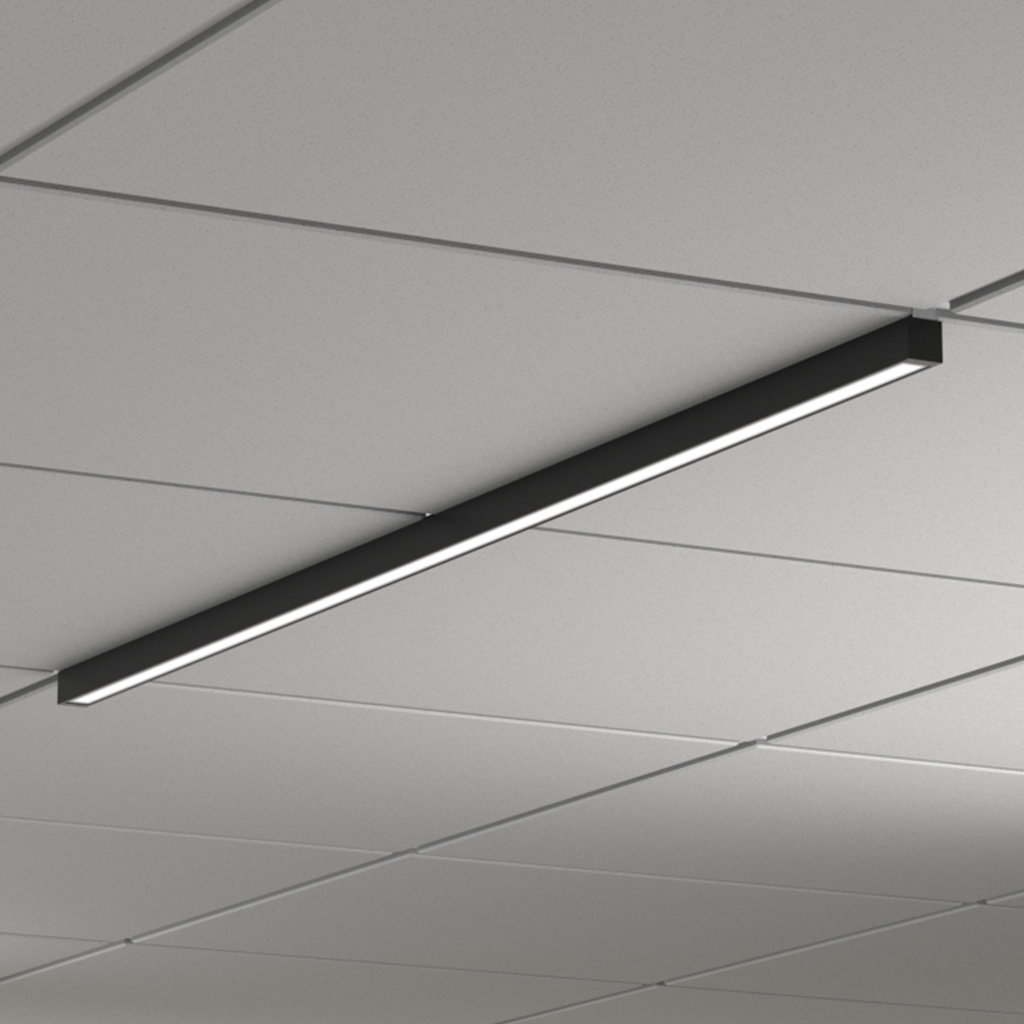
GRIDBar 15/16” Flat Lens is a patented linear lighting solution designed to directly replace 15/16” T-Bar elements in suspended ceilings. Engineered for true T-Bar replacement, it can be positioned anywhere within the grid, in-line or across tiles, with a precision-matched width that ensures a clean, consistent ceiling aesthetic. SmartBeam® technology delivers advanced symmetric and asymmetric distributions in static white, tunable white, or RGBW.
Advanced optics provide high-performance beam control tailored to the space. Choose from seven versatile beam distributions: Lambertian, Batwing 60°, Double Asymmetric 70°, Asymmetric 50° at 25° Tilt, Asymmetric 40° at 5° Tilt, Medium 55°, and Narrow 40°. GRIDBar 15/16” combines maximum versatility with exceptional efficiency, achieving 130+ LPW for energy-smart, high-performance illumination.
Downloads & Files
Technical Drawings
Installation
IES Files
Sustainability
Standard Lengths
Fixtures are available in standard 2FT, 4FT, 6FT, and 8FT Lengths. Custom Fixtures are only available in 3″ increments.


Standard Finishes
Customize your installation with standard matte powder-coated finishes, anodized , or custom RAL colors.

Matte White

Matte Black

Matte Gray

Anodized

Custom RAL
SmartBeam® Choices
Advanced optics deliver high-performance beam distributions tailored to the space. Choose from up to seven symmetric and asymmetric beam distributions.

Lambertian

Batwing 60°

Double Asymmetric 70°

Asymmetric 50° at 25° Tilt

Asymmetric 40° at 5° Tilt

Medium 55°

Narrow 40°
Performance
Engineered for industry-leading performance, delivering up to 1,000 Lm/Ft, 135 Lm/W efficacy for demanding architectural applications.

Power & Lighting Controls
FlexGrid provides a range of specification choices for drivers and lighting controls in addition to factory selected and installed items.
Driver Options
Drivers
FDND – Factory Non-Dimming
FD00 – Factory 0-10V 0.1% Dim
FD01 – Factory 0-10V 1% Dim
FD10 – Factory 0-10V 10% Dim
FDDA – Factory DALI 0.1% Dim
FDDX – Factory DMX Dim
FDTR – Factory TRIAC Dim
LD01 – Lutron Hi-Lume 1% Dim
Fixture Voltage
120–277 VAC
347 VAC, 50/60 Hz
Power Location
Remote
LED Driver
Factory Selected, 36–39V Constant Current
Emergency Backup (Optional)
Backup Options
EMC – Emergency Circuit
EMB – Emergency Battery (10 W — Remote)
Power
10 W
Illumination Time
90 minutes
Compatible Controls
Mounting
Replaces T-Bar crossmember in ceiling grid system. Available with a range of accessories, mounts and inserts that provide easy customization of visual appearance.

Lay-In (Drop-In) Ceiling Tile

Tegular Ceiling Tile
Installation
Attach Mounting Clips

Attach the mounting clips to the GRIDBar fixture. Slide the wire through the slot of the clip so the wire is centered. Slide the threaded bracket to each end of the GRIDBar fixture until they engage with the Mounting Clips. Fasten with screw.
Mount Fixture

Place the GRIDBar fixture onto the T-Bar using the mounting clips. If needed, secure the clip to the T-Bar through the top slot with appropriate hardware on each end of the fixture.
Install Driver Box

Connect DC Feed from fixture to the driver box. Connect AC Feed to the driver box. The driver box has 7/8” knock out.
Install Ceiling Tile

Install the ceiling tile.
Standards & Certifications
FlexGrid products are Declare Listed, Red List Free and BABAA Compliant.